
How to Set Up Your First Chatbot
Create your first AI chatbot in ChatFlow, give it a name, connect your website, and get it ready to train, test, and publish.
Before you begin
Your chatbot is the AI assistant that greets visitors and answers their questions on your website. ChatFlow helps you create your first one the moment you set up your workspace, so you can go from sign-up to a working assistant in a few minutes. This guide walks through that flow and shows how to add more chatbots later.
Available on every plan
Chatbots are included on every ChatFlow plan, including the free trial. The number of chatbots you can run at once depends on your plan.
Create your first chatbot
When you create a ChatFlow workspace, the setup wizard opens a short form to create your first chatbot. You do not need to go looking for it, it is the first thing you see.
Enter your chatbot's details
Fill in the form with a name for your chatbot and your business details.
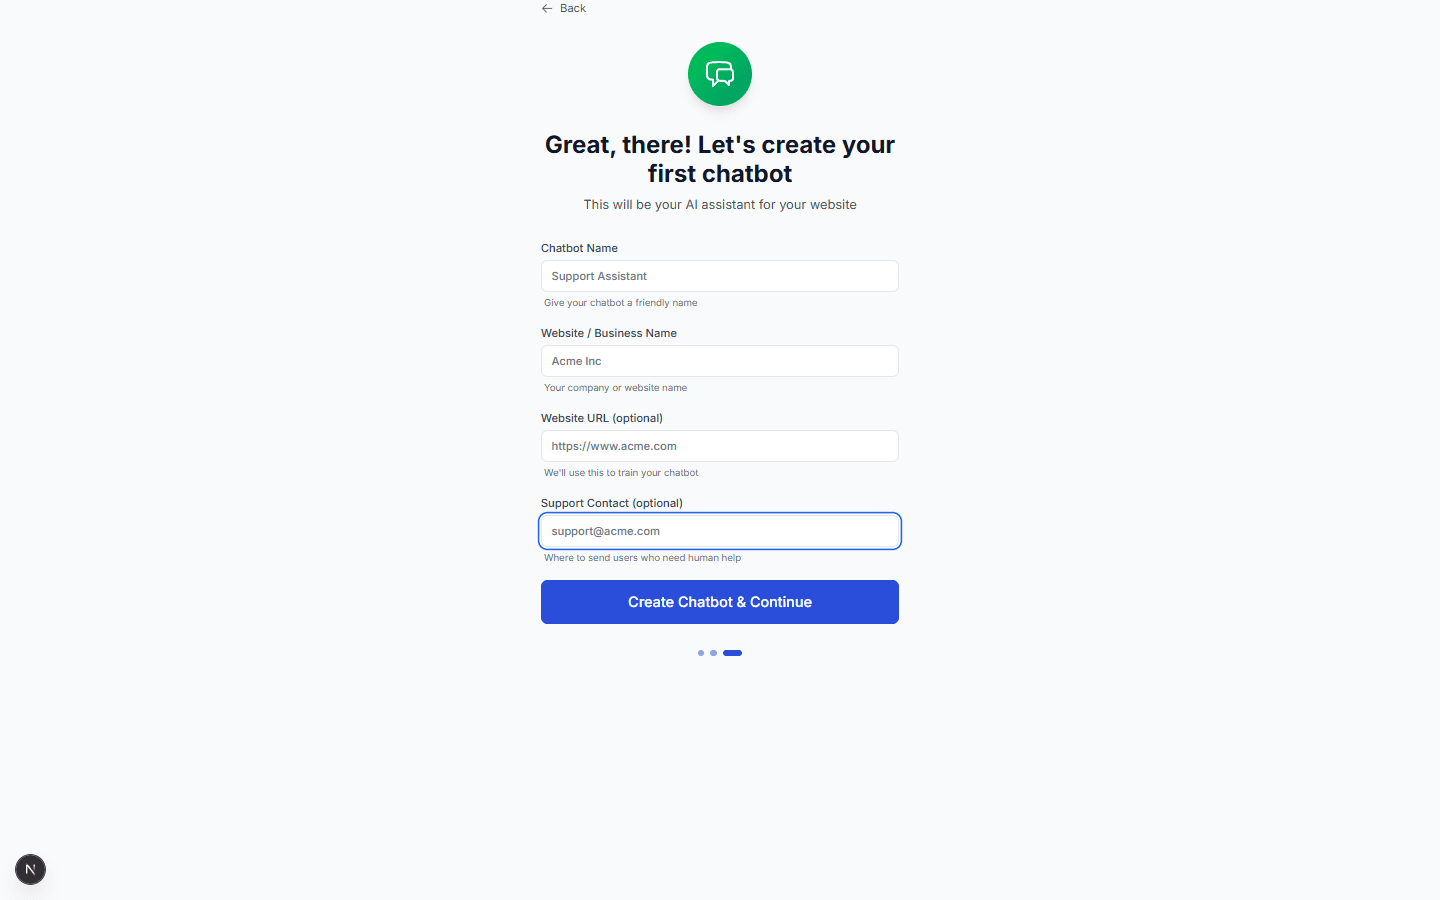
| Field | Required | What to enter | Example |
|---|---|---|---|
| Chatbot Name | Yes | A friendly name to identify this chatbot inside ChatFlow. | Support Assistant |
| Website Name | Yes | Your company or website name. The chatbot uses this to refer to your business. | Acme Inc |
| Fallback Support | No | An email address or contact page where the chatbot can send people who need a human. | [email protected] |
| Website URL | No | Your site address. If you add it, ChatFlow can crawl your pages to train the chatbot. | https://www.acme.com |
| Description | No | A short description of your business to give the chatbot extra context. | Acme sells office supplies |
Add your website URL
If you enter your website URL now, ChatFlow can read your public pages and turn them into answers automatically. You can always skip this and add training content later.
Create the chatbot
Select Create Chatbot. ChatFlow creates the chatbot and opens its workspace, with a short checklist of recommended next steps: add training data, customize the design, test in the Playground, and publish to your site.
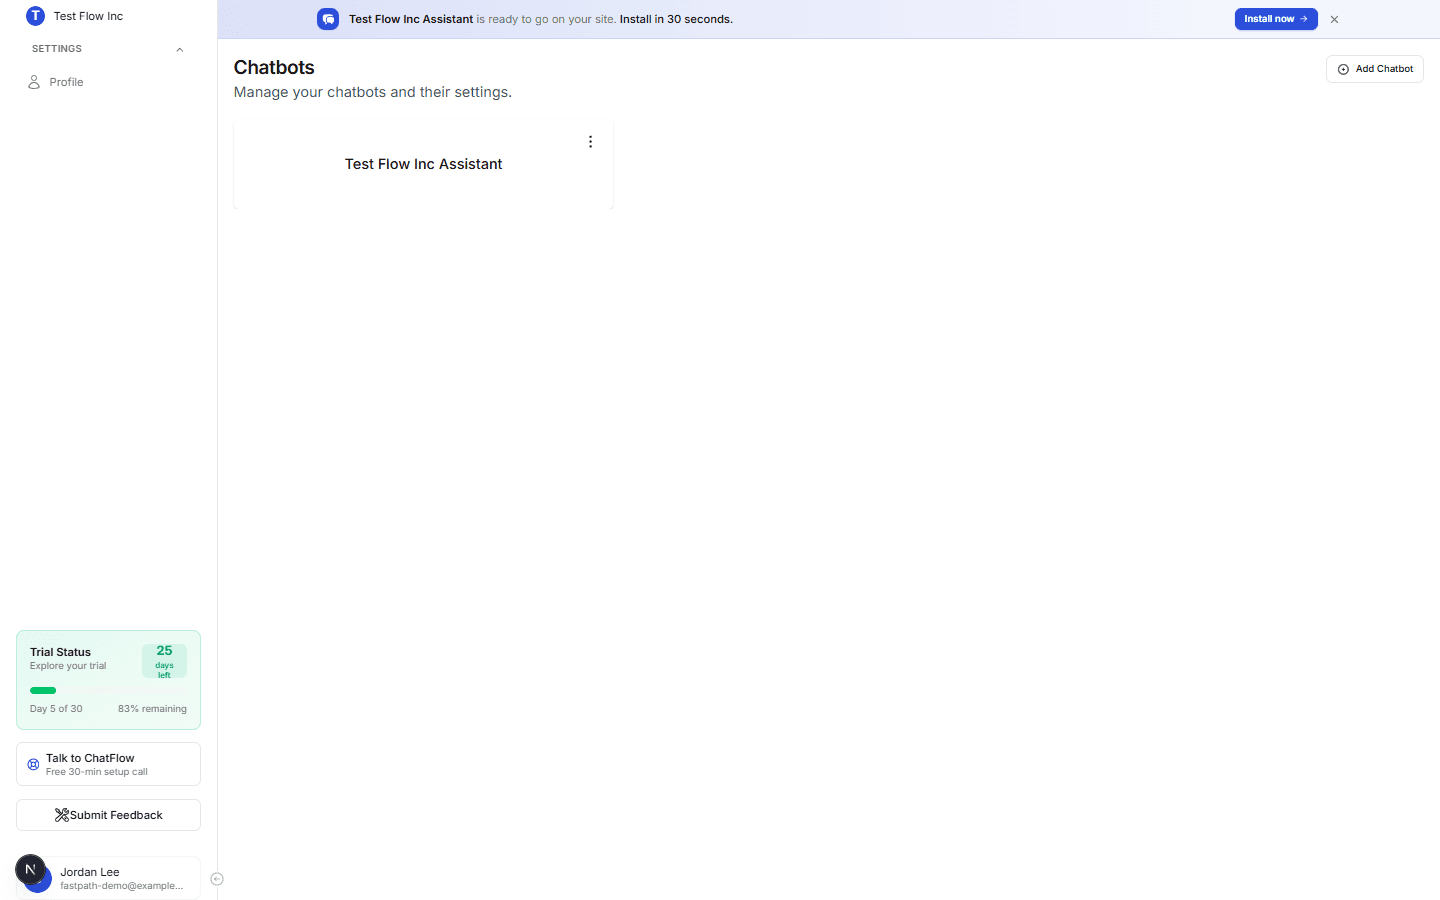
Your chatbot workspace
After the chatbot is created, you land on its workspace. Everything you configure for this chatbot lives behind the tabs near the top.

| Tab | What it is for |
|---|---|
| Documents | Upload PDFs, Word documents, and spreadsheets to train your chatbot. |
| Web | Crawl your website so the chatbot learns from your public pages. |
| FAQs | Add question-and-answer pairs for your most common questions. |
| Design | Set your brand colors, avatar, and welcome message. |
| Integrations | Connect channels such as WhatsApp and Instagram, and your website platform. |
| Settings | Configure lead capture, appointments, human handoff, quick actions, and conversation flows. |
| Playground | Test the chatbot in a live chat before you publish it. |
| Publish | Get the embed snippet to add the chatbot to your site. |
Add another chatbot
You can run separate chatbots for different sites, brands, or audiences. To create one after your first:
Open Chatbots
Select Chatbots in the sidebar to open the chatbot list.
Select Add Chatbot
Select Add Chatbot in the top right and fill in the same details as before.
Verify it's working
- Open the Playground tab for your chatbot.
- Type a greeting such as
Hello. - Confirm the chatbot replies. A new chatbot can answer basic greetings right away, and its answers get better as you add training content and FAQs.
Troubleshooting
The chatbot replies but cannot answer questions about my business
The chatbot has no training content yet. Add at least one source so it has something to answer from:
- Crawl your site from the Web tab.
- Upload a document from the Documents tab.
- Add a few question-and-answer pairs in the FAQs tab.
I reached my chatbot limit
The number of chatbots you can run depends on your plan. If Add Chatbot is unavailable, you have reached your plan's limit. Upgrade your plan, or delete a chatbot you no longer use, to add a new one.
The website URL is rejected
Enter the full address including https:// (for example https://www.acme.com, not www.acme.com). The website URL is optional, so you can leave it blank and add training content later.