
Webflow Integration Guide
Add ChatFlow to your Webflow site in a few clicks with the one-click connect, or paste the snippet into your footer code.
Before you begin
The fastest way to add ChatFlow to a Webflow site is to connect it from your ChatFlow dashboard, ChatFlow installs the widget for you, no code required. If you prefer, you can paste the embed snippet into your site's footer code.
Add ChatFlow to Webflow
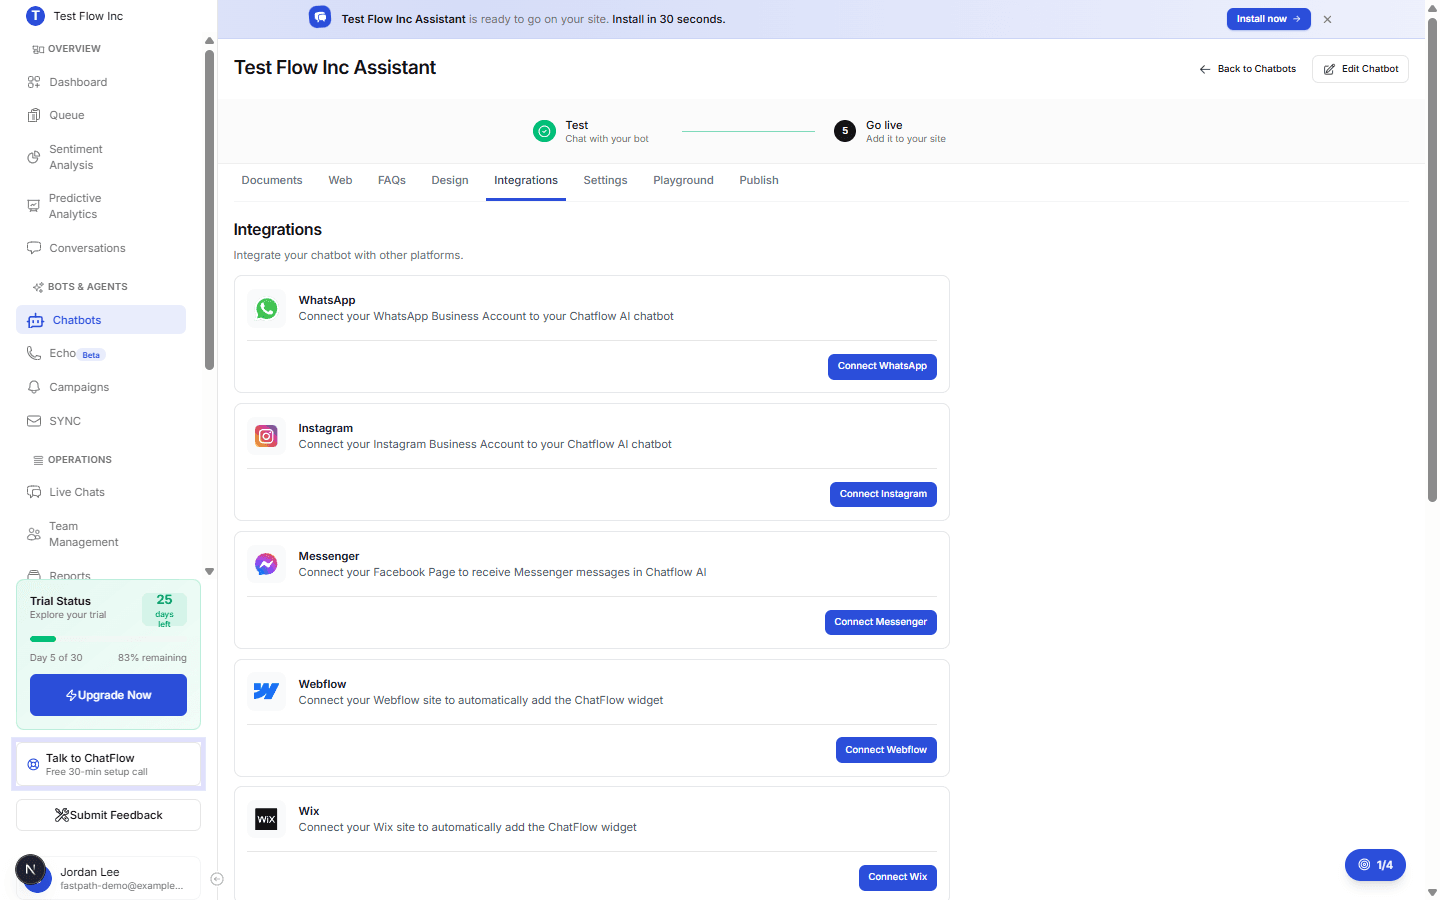
Open the Integrations tab
In ChatFlow, open your chatbot and go to the Integrations tab. Find Webflow and select Connect Webflow.
Authorize and choose your site
A popup opens to authorize ChatFlow. Sign in to Webflow, choose the site to connect, and approve the requested permissions.
Add the widget
Select Add Widget on the Webflow card to deploy the chat widget (if it is not already live). To turn it off later, open the Webflow card and select Disconnect.
Verify it's working
Visit your published Webflow site and confirm the chat widget appears. Open it, send a test message, and confirm it shows up under Conversations in your dashboard.
Troubleshooting
If the widget does not appear, confirm you published your Webflow site after adding the snippet (custom code only goes live on publish), and that the connection still shows as connected.